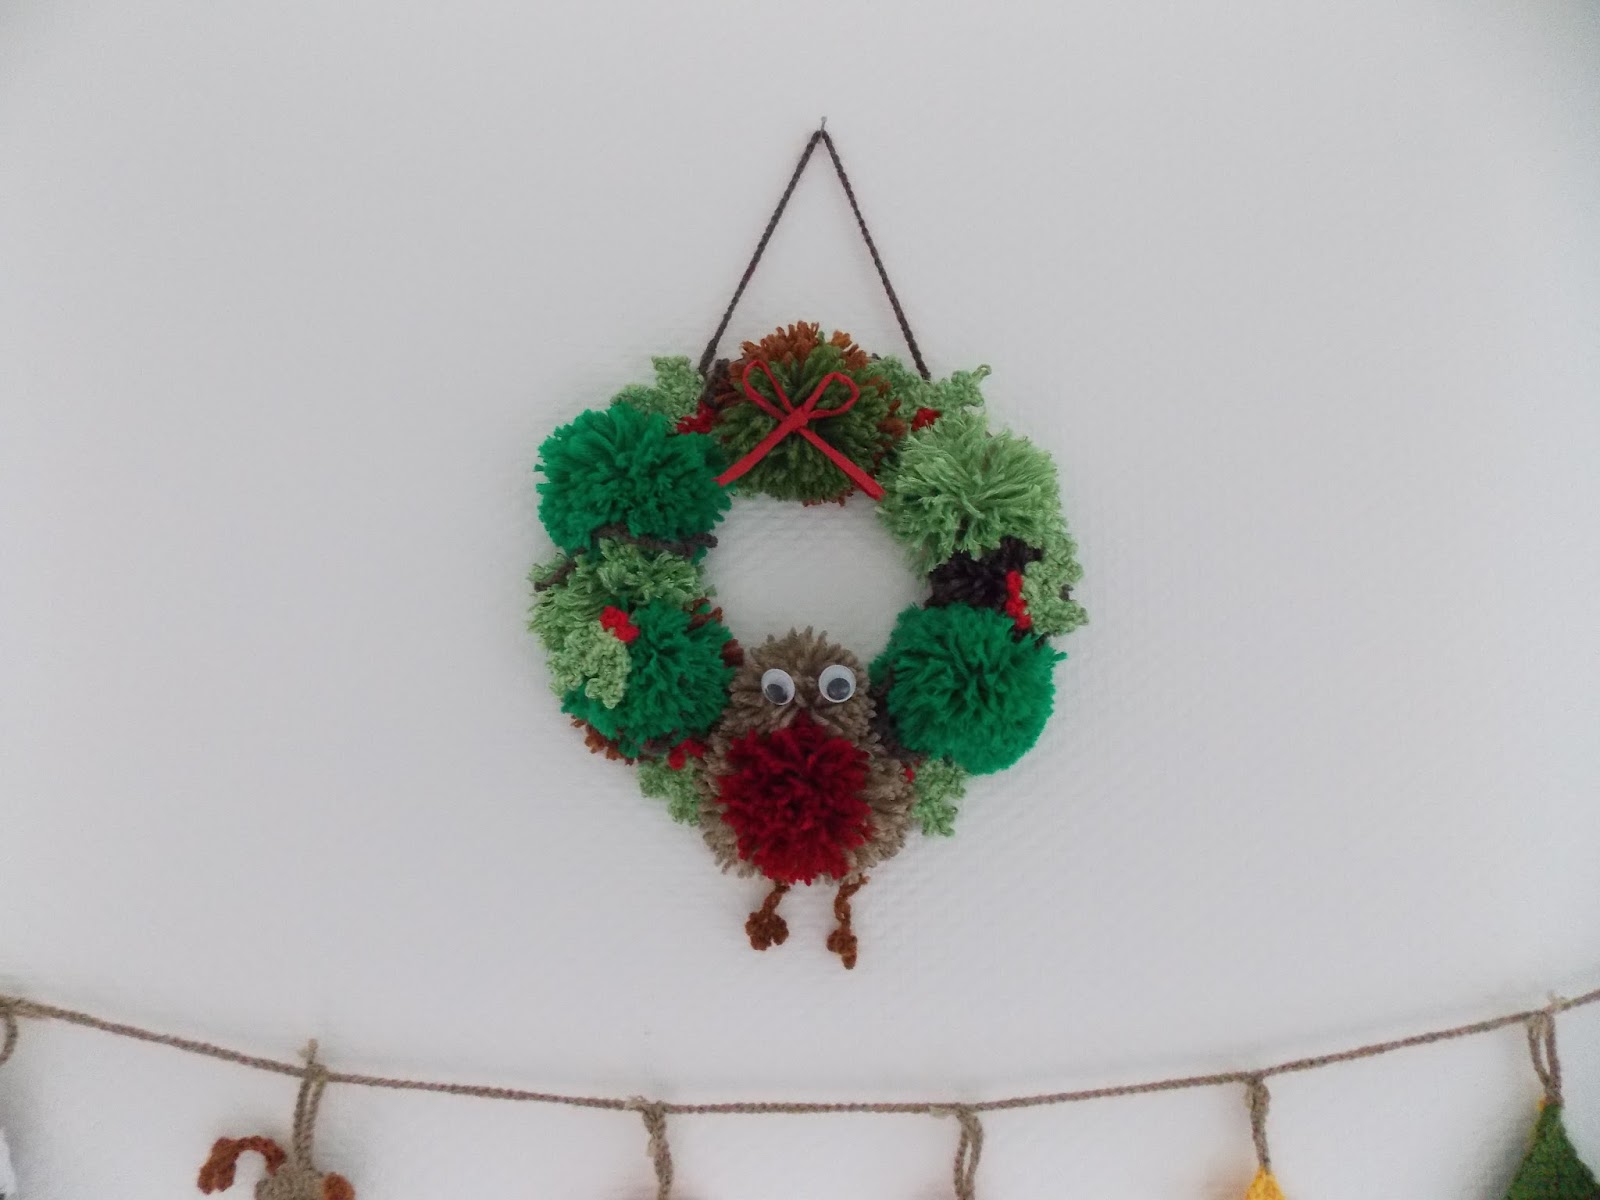
DIY Christmas Pompom Wreath
Thursday, 1 December 2016
Step by step. How I made this pompom wreath....
You will need:
- A cereal box
- Yarn in a variety of colours
- Crochet hook (3mm/3.5mm)
- Pen, Ruler, Dinner plate
- Googly eyes
- Pompom maker
- Scissors
- Glue
- Ribbon
- Christmas music to play in the background!
The Crafting....
- Take your cereal box, ruler, pen, scissors and dinner plate. Lay the dinner plate on one of the two largest sides of the cereal box. Draw around the plate. Remove the plate, with either a compass or a ruler find the centre of the circle ad measure a smaller circle in the centre of the bigger circle. For example the measurements of my cardboard ring were 21cm in diameter for the outside circle and 11cm in diameter for the smaller circle. Cut the along the pen lines, leaving yourself with a cardboard ring for the base of the wreath.
- Next, although this may seem premature, I feel is the most helpful way to do this. To be able to hang your wreath and identify a right way up to the card base, I measured 10cm across the outer edge of the wreath. I marked the start, then the finish with a pen and made to small holes. With yarn and a crochet hook I made a 55 stitch long chain. I poked one end through one hole, the other through the other hole and secured each end with a knot. This should help you when it comes to placement of pompoms etc because you can identify top from bottom.
- How to make a Pompom/homemade Pompom maker:
Pompom makers are small rings of plastic, you can make your own with card, cereal box card.
 |
| Instruction image not made by me, source unknown |
- Pompom Time. With either a pom pom maker or your own homemade pom pom maker begin to make a range of pompoms. Use different yarns, different size of pompom maker. To make the robin breast, wrap red yarn around the pompom maker first then on top of that wrap the brown yarn. I then made a smaller brown pompom for the robins head.
- The crochet parts.
Robin's legs (x2): 10ch, 1dc in 2nd ch from hook, slst in same space, 1ch, dc in same space as previous dc, slst in same space, 1ch, 1dc in same space as previous 2 dc, slst in same space. Tie off.
Holly leaves and berries:
Leaf (x2) (green): 8ch, slst in 3rd ch from hook, [in next ch slst, 3ch, slst in same space, in next ch, 1dc] x2 ,in next ch slst, 3ch, slst in same space. Moving round to other side of chain, starting in same ch as previous st. [in next ch slst, 3ch, slst in same space, in next ch, 1dc] x2 ,in next ch slst, 3ch, slst in same space.
Berries (red): Used as a way to secure the end of two leaves together. Starting right to left at bottom of leaves. Catch a stitch in right hand leaf, slst, 3ch, slst in same space, catch stitch at left side of right hand left, slst, 3ch, slst in same space, catch stitch in centre of left hand leaf, slst, 3ch, slst in same space, tie off.
- Arrange and glue pompoms and crochet bits and bobs. I also added a little bow. Stick on Mr Robin's googly eyes.


 |
| My silly notes! |


No comments
Post a Comment